A nameserver is a specialized server on the Internet that handles queries or questions from your local computer, about the location of a domain name's various services.
A great simple way to think about nameservers is using a phone book analogy. If you were trying to call Vitalweb.io you might have remembered our phone number, but more than likely you'd want to look it up before just guessing at numbers.
This same story is also true for the Internet and domain names. As an example, you're reading this article right now on our Vitalweb.io domain name.
Here at Vitalweb.io, we allow customers that registered domain names through us to register their own nameservers free of charge.
In this tutorial, we’ll show you how to register nameservers.
1) Login to your Client Area
2) Click the Domains button.
3) Click on the domain that you wish to register the nameservers for.
In this example, we're going to select Vitalweb.io.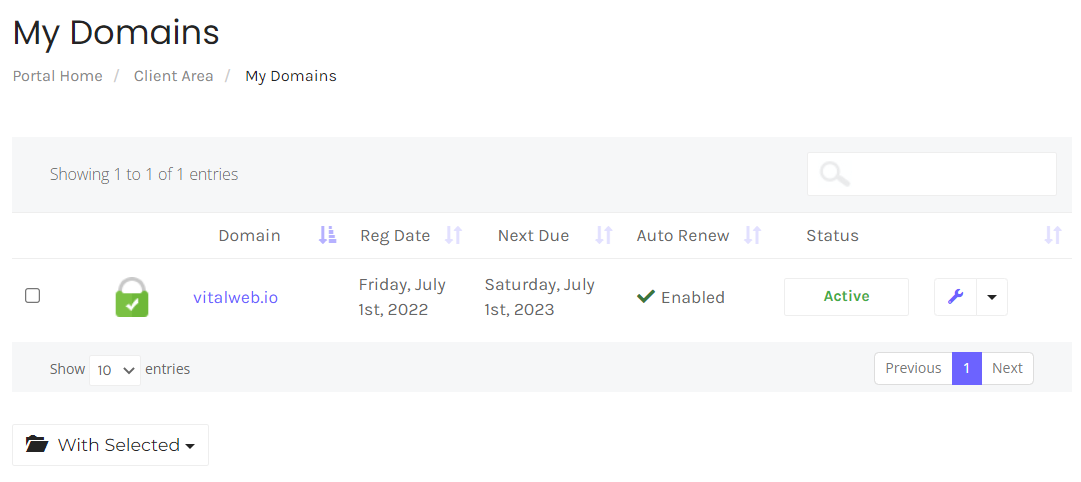
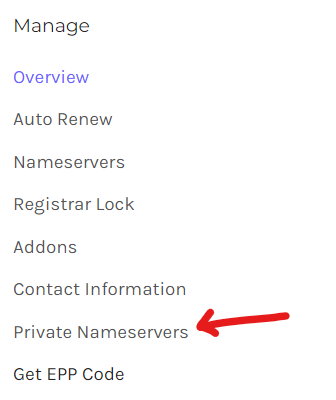
4) On the domain management page, on your left and click Private Nameservers.
5) On the next page, fill out the fields with the values you desire. The IP Address will be assigned by Vitalweb.io or your host. Click Save Changes once complete.
Hero tip: You can also use this page to manage Name Servers that you've already registered.

6) Once your Nameservers are registered, you will need to modify them (See also - How to modify nameservers) on your respective domain.


